Installation Tips for Proper Flywheel Alignment and Fit
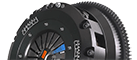
A performance flywheel can make a major difference in how a vehicle responds, revs, and transfers power. However, the part only works when the installer confirms fitment, prepares the mating surfaces, and follows the correct installation process.
Flywheel alignment affects clutch engagement, drivability, noise, vibration, and service life. A rushed install can create problems that feel like part failure, even when the issue comes from improper preparation or assembly. Keep reading for installation tips for proper flywheel alignment and fit.
Why Flywheel Alignment Matters
A flywheel must sit flush against the crankshaft, match the clutch system, and rotate without unnecessary movement. When the flywheel does not align correctly, the clutch disc may not engage evenly, the pressure plate may not clamp properly, and the transmission may become harder to install.
Proper alignment also helps the starter engage correctly and keeps the rotating assembly stable. Small errors at the flywheel can turn into chatter, vibration, gear noise, or premature wear once the vehicle returns to the road or track.
Fitment Starts Before Installation
Before you remove the old flywheel, confirm that the replacement part matches the vehicle’s year, make, model, engine, transmission, and clutch setup. Do not rely on visual similarity alone, because bolt patterns, step heights, ring gear position, and pilot bearing requirements can vary by application.
Check whether the vehicle uses a single-mass or dual-mass flywheel from the factory. Some vehicles can convert from a dual-mass flywheel to a single-mass design, but that change can affect noise, vibration, and overall street manners.
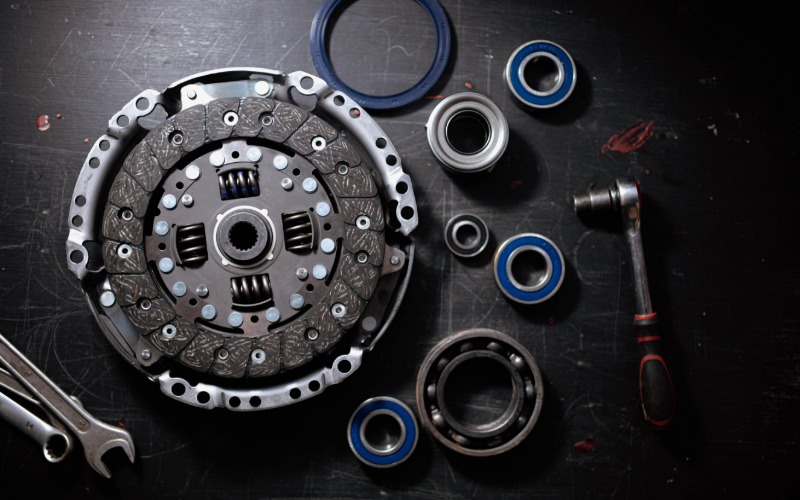
Inspect the Flywheel Before It Goes On
Always inspect the new flywheel before installation. Look for shipping damage, damaged threads, burrs around bolt holes, missing hardware, or anything that could prevent the flywheel from seating flat against the crankshaft.
Also, confirm the friction surface looks clean and free from contamination. Oil, grease, dirt, or handling residue can affect clutch break-in and create engagement issues after the install.
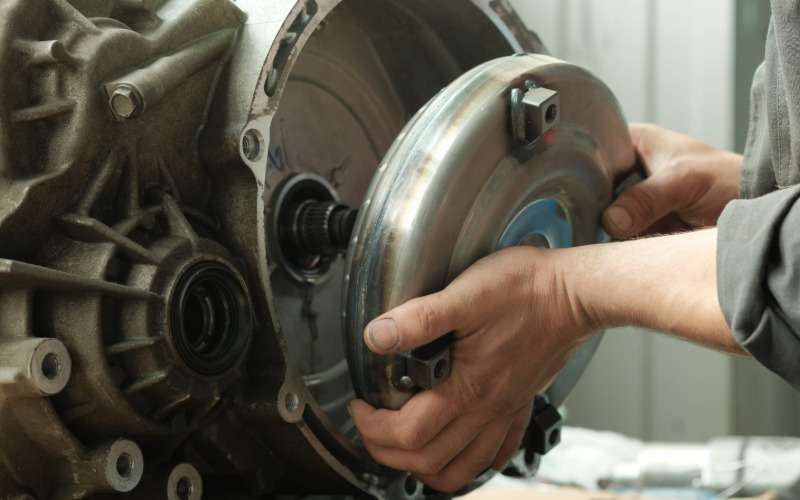
Test Fit Before Final Assembly
A test fit helps catch problems before the clutch, pressure plate, and transmission go back into place. Set the flywheel on the crankshaft, confirm that it sits fully against the flange, and make sure the bolt holes line up without forcing the part into position.
If the flywheel does not sit flat, stop and inspect the crank flange, dowels, bolt holes, and back side of the flywheel. Forcing parts together can damage threads, distort alignment, and make the final install harder to diagnose.
Use the Correct Flywheel Bolts
Flywheel bolts handle major load, heat, and vibration. Reusing bolts may not always be the right choice, especially if the manufacturer recommends replacement or if the original bolts show stretched threads, damaged heads, or corrosion.
Clean the bolt holes and confirm the bolts thread in smoothly by hand before applying the final torque. If a bolt binds, remove it and inspect the threads instead of using the torque wrench to pull it into place.
Follow the Proper Torque Sequence
Always torque the flywheel bolts to the correct specification for the application. Tighten them in a crisscross pattern so the flywheel pulls evenly against the crankshaft instead of loading one side first.
Use a calibrated torque wrench, and apply threadlocker only when the instructions call for it. Too little torque can allow movement, while too much torque can damage threads, distort the fastener, or create future service problems.
Measure Runout When Necessary
Flywheel runout measures how much the flywheel surface moves side to side as it rotates. Excessive runout can cause clutch chatter, inconsistent engagement, vibration, and uneven wear.
Use a dial indicator when the application, build level, or installation instructions call for it. If runout falls outside specification, check for debris, damaged mating surfaces, incorrect seating, or crankshaft issues before continuing.
Align the Clutch Disc Correctly
Another important installation tip for proper flywheel alignment and fit is to align the clutch disc correctly. The clutch disc must sit in the center before tightening the pressure plate. Use the correct alignment tool, and make sure the disc faces the correct direction for the application.
If the disc sits off-center, the transmission input shaft may not slide into place. Installers sometimes blame the transmission or clutch kit at that point, but the issue can come from disc alignment during assembly.
Keep the Friction Surfaces Clean
Cleanliness matters throughout the installation. Keep fingerprints, grease, oil, brake fluid, and shop debris away from the flywheel friction surface, clutch disc, and pressure plate face.
Use the proper cleaner for the flywheel surface before final assembly, and allow it to dry fully. Contamination can cause slipping, chatter, glazing, or poor break-in.
Match the Flywheel to the Vehicle’s Use
Material choice matters for fit, feel, and drivability. Steel flywheels can provide strong street manners, while aluminum options can reduce rotating mass for more aggressive performance goals.
The right choice depends on the vehicle, power level, driving style, and comfort expectations. A race-focused setup may not feel ideal for daily street use, and a street-friendly setup may not deliver the lowest possible rotating weight. Clutch Masters provides a wide selection of lightweight flywheels for various kinds of vehicles and setups.
Understand Noise and Vibration Changes
Changing the flywheel design or weight can change how the vehicle sounds and feels. A single-mass flywheel can introduce gear rattle or vibration in some applications, especially when replacing a factory dual-mass unit.
This does not automatically mean something went wrong during installation. However, excessive vibration, harsh engagement, or unusual mechanical noise still deserves an inspection.
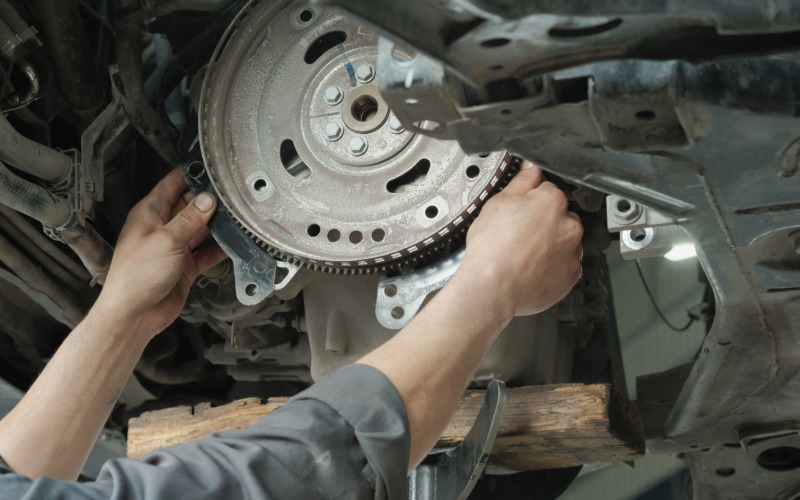
Do Not Force the Transmission into Place
The transmission should slide into position once the clutch disc, pilot bearing, and input shaft align correctly. If it does not seat, stop and reassess the alignment instead of using bolts to pull the transmission toward the engine.
Forcing the transmission into place can damage the clutch disc hub, pilot bearing, input shaft, bellhousing, or threads. A small alignment issue can become an expensive repair when the installer tries to overcome it with force.
Complete a Careful Final Check
Before startup, torque all bolts, remove all tools, and reconnect all related components. Check hydraulic operation, clutch pedal feel, starter function, and any installation steps the clutch or flywheel manufacturer lists.
After the vehicle starts, listen for abnormal sounds before driving. During the first test drive, pay attention to clutch engagement, shifting feel, vibration, and any changes that seem outside the expected behavior of the new setup.
Conclusion: Proper Fitment Protects Performance
A flywheel upgrade can improve response, support a stronger clutch setup, and help the vehicle feel more connected. Proper alignment and fitment make those benefits possible because the flywheel, clutch, crankshaft, and transmission all need to work together as one system.
Take the time to confirm the right part, clean every mating surface, torque the hardware correctly, and align the clutch before reinstalling the transmission. For application-specific options, visit Clutch Masters to browse performance flywheels, confirm fitment, and choose the right setup for your build.