
How To Route Hydraulic Lines To Avoid Heat & Vibration
Hydraulic clutch systems depend on clean fluid movement, consistent pressure, and stable line placement. When a hydraulic line sits too close to heat, rubs against a sharp edge, or moves with the drivetrain, the system can lose consistency and create frustrating clutch engagement problems.
Routing the line correctly from the master cylinder to the slave cylinder or hydraulic release bearing helps the system work as intended. Keep reading to understand how to route hydraulic lines to avoid heat and vibration.
Why Hydraulic Line Routing Matters
A hydraulic clutch system transfers pedal input through fluid pressure. The master cylinder pushes fluid through the line, and that pressure moves the slave cylinder or release bearing. Damage, restriction, overheating, and contamination can cause the system to struggle to disengage the clutch cleanly.
Poor line routing can create several issues at once. Excessive heat can raise fluid temperature, vibration can fatigue fittings, and contact with brackets or metal edges can wear through the line jacket.
Start With a Clear Routing Plan
When routing hydraulic lines to avoid heat and vibration, the first thing to do is to come up with a routing plan. Study the full path from the master cylinder to the connection point at the transmission. Look for heat sources, moving parts, sharp edges, pinch points, and service access.
The best route is usually the shortest safe path, not the shortest possible path. A direct line that runs beside a header or across a moving bracket creates more risk than a slightly longer route through a cooler, cleaner area.
Identify Heat Sources First
Heat sources should shape the route before anything else. Exhaust manifolds, headers, catalytic converters, turbo housings, wastegate pipes, and downpipes can expose a hydraulic line to temperatures that exceed what the hose, fittings, or fluid should handle.
Keep as much distance as possible between the line and high-temperature components. Distance works best, but shielding can add protection when the engine bay layout forces a tighter route.
Watch for Moving Parts
The hydraulic line should stay clear of steering shafts, axle shafts, shift linkage, suspension components, belts, pulleys, fans, and the clutch fork area. Any moving part can damage the line if the two make contact while driving.
Check the route with movement in mind. Leave enough slack for engine and transmission motion, but avoid loose loops that can swing, snag, or touch hot parts.
Protect the Line from Abrasion
Abrasion can ruin an otherwise clean installation. A hydraulic line that lightly touches a bracket, frame rail, bellhousing edge, or heat shield may look harmless during installation. After miles of vibration, that same contact point can wear through the outer layer and weaken the line.
Use insulated clamps, rubber-lined P-clamps, or proper mounting points to keep the line in position. Avoid zip ties, as they can loosen, harden, or allow the line to shift.
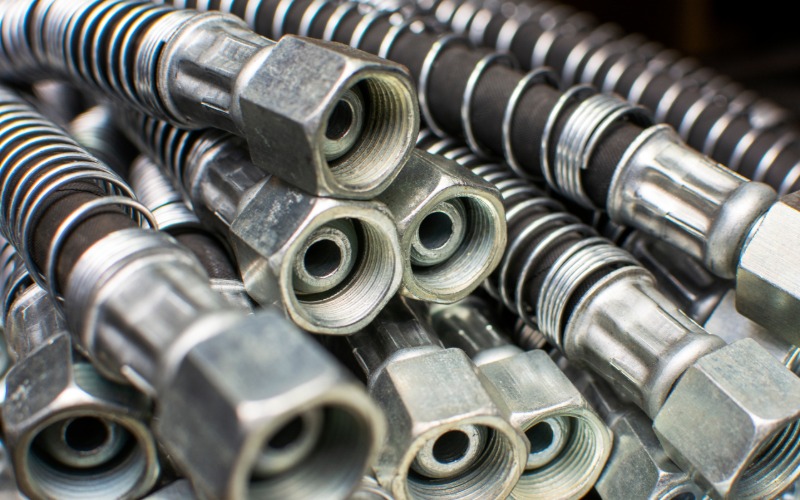
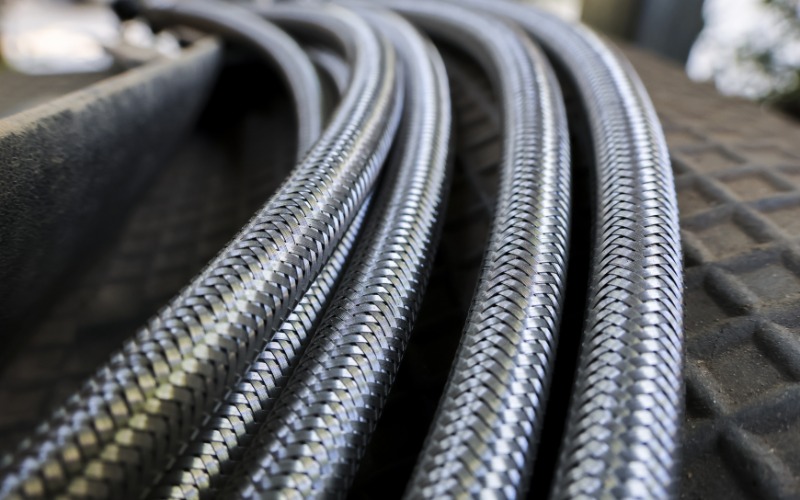
Avoid Sharp Bends and Twisted Lines
A hydraulic line should follow smooth curves. Sharp bends can restrict fluid movement, stress the internal liner, and create weak points near fittings. If a line has a braided outer layer, a tight bend can also distort the braid and reduce support.
Make sure the line does not twist during installation. A twisted line may look acceptable at first, but it can apply constant stress to fittings and hose ends.
Use Grommets at Pass-Through Points
Any time a line passes through a panel, bracket, or opening, it needs protection. Bare metal edges can cut into the line as the vehicle vibrates. A rubber grommet, bulkhead fitting, or protective sleeve can prevent direct contact and keep the route stable.
Manage Clearance Around the Transmission
The transmission area needs special attention because it combines heat, movement, and limited space. The hydraulic line may run near the bellhousing, clutch fork, release bearing connection, exhaust, and drivetrain mounts. This area can expose the line to vibration from both the engine and the chassis.
Keep the line clear of the clutch fork, fork window, inspection covers, starter, and any rotating or moving components. If the system uses an internal hydraulic release bearing, route the line so it does not kink as it enters the bellhousing.
Leave Room for Service
A good route should also support future service. Clutch systems may need bleeding, inspection, or component replacement. If the line runs behind hard-to-access parts or crosses directly over service points, routine work becomes harder than it needs to be.
Choose the Right Support Points
Support points stabilize the hydraulic line. The line should not carry its own weight across long unsupported spans, and it should not hang near exhaust or drivetrain components. Secure mounting reduces vibration, protects fittings, and keeps the line from shifting after installation.
Use existing mounting locations when they create a safe path. Bellhousing bolts, firewall brackets, and chassis tabs can work well with proper clamps.
Keep Flex Where the Drivetrain Moves
A hydraulic line may need to bridge the body and the drivetrain. Since the engine and transmission move under load, the line must allow that movement without pulling tight. A small, controlled loop or gentle curve can absorb motion, but a large hanging loop can create its own problems.
The line should rest in a neutral position with no tension at either end. After mounting it, check whether the route allows movement in every direction the drivetrain may travel.
Separate Hydraulic Lines from Electrical and Fuel Components
Hydraulic lines should not share tight routing with electrical wiring, fuel lines, or sensitive sensors unless proper separation and protection exist. Heat, abrasion, and fluid exposure can create unnecessary risk when different systems sit too closely together.
Organize the hydraulic line, but do not bundle it tightly with unrelated components. If routing paths must cross, use protection at the contact point and maintain clearance wherever possible.
Inspect the Route Before Bleeding
Before bleeding the hydraulic system, inspect the full line route from end to end. Confirm proper seating for fittings, clamp security, and adequate clearance for every section of the line. It is easier to correct routing issues before the system contains fresh fluid and pressure. Look for tight bends, twisted hose sections, unsupported spans, and areas where the line could touch exhaust, steering, or drivetrain components.
Check the System Under Pedal Pressure
After bleeding the system, press the clutch pedal several times and inspect the line again. Pressure can reveal fitting leaks, movement, or stress that was not obvious during mockup. The pedal should feel consistent, and the line should remain stable as the system operates.
Reinspect After Initial Driving
A final inspection after the first drive helps confirm that the route works under real conditions. Heat cycles, engine movement, and vibration can settle the line into a slightly different position.
Check clamps, fittings, sleeves, and clearance after the system reaches operating temperature. Look for fresh contact marks, melted shielding, loose clamps, or fluid seepage.
Route Hydraulic Lines With Protection, Clearance, and Control
Hydraulic clutch line routing should protect the system from heat, vibration, abrasion, and unnecessary stress. After installation, inspect the route under pressure and again after initial driving to confirm that the line stays stable.
For performance hydraulic components, replacement parts, and hydraulic clutches for sale, explore Clutch Masters’s extensive inventory. If you need, contact one of our clutch experts today.